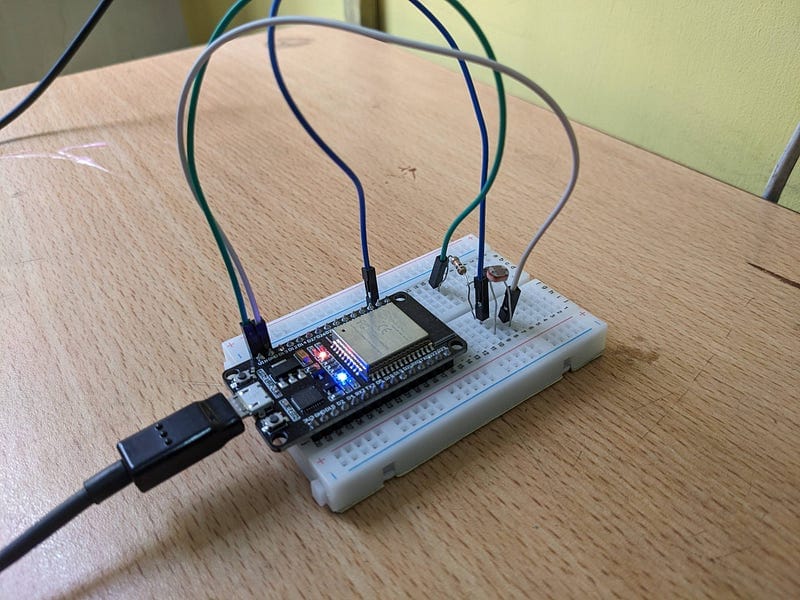
Adding ESP32 to Arduino IDE & Sending Data to Consentium IoT Cloud
This tutorial will guide you through adding an ESP32 board to the Arduino IDE, installing the ConsentiumThings library, and using it to…

This tutorial will guide you through adding an ESP32 board to the Arduino IDE, installing the ConsentiumThings library, and using it to send sensor data to the Consentium IoT Cloud.
Prerequisites
- Arduino IDE (Version 1.8.13 or higher)
- ESP32 Board (e.g., ESP32 DevKit V1)
- ConsentiumThings Library
- Consentium IoT Account [link]
Step 1: Adding ESP32 Board to Arduino IDE
- Install Arduino IDE from the official Arduino website.
- Open the IDE, go to
File > Preferences. - In the Additional Board Manager URLs field, add:
https://raw.githubusercontent.com/espressif/arduino-esp32/gh-pages/package_esp32_index.json4. Click OK and go to Tools > Board > Boards Manager.
5. Search for ESP32 and click Install.
6. Select your ESP32 board from Tools > Board.
Step 2: Installing ConsentiumThings Library
- Go to
Sketch > Include Library > Manage Libraries. - Search for ConsentiumThings.
- Click Install.
Step 3: Creating a Board on Consentium IoT Cloud
- Log in to your Consentium IoT account.
- Go to Boards Section and click Create Board.
- Provide a unique name and description for your board.
- Save and note down the Send and Board API Key.
Step 4: Uploading Code to ESP32
Copy and upload the following code to your ESP32:
#include <ConsentiumThings.h>

ConsentiumThingsDalton board;

const char *ssid = "YOUR_WIFI_SSID";
const char *pass = "YOUR_WIFI_PASSWORD";

const char *SendApiKey = "YOUR_API_KEY";
const char *BoardApiKey = "YOUR_BOARD_API_KEY";

constexpr int interval = 7000;

void setup() {
  Serial.begin(115200);
  Serial.println("Consentium IoT - Edge Board Library");
  Serial.println("------------------------------------");
  Serial.println("Initializing ConsentiumThings Board...");

  board.initWiFi(ssid, pass);
  board.beginSend(SendApiKey, BoardApiKey);

  Serial.println("ConsentiumThings Board Initialized!");
  Serial.println("------------------------------------");
}

void loop() {
  double data_0 = 1.0;
  vector<double> sensorValues = {data_0};
  const char* sensorInfo[] = {"Temperature"};

  board.sendData(sensorValues, sensorInfo, LOW_PRE);

  delay(interval);
}
Step 5: Testing Data Transmission
- Open the Serial Monitor (
Tools > Serial Monitor) in Arduino IDE. - Set the baud rate to 115200.
- Check for messages indicating successful connection and data transmission.
Conclusion
You’ve successfully configured your ESP32 to communicate with the Consentium IoT Cloud using the ConsentiumThings library! 🎉
Now, your board can transmit real-time sensor data to the cloud, where you can visualize and analyze it.
For more details and troubleshooting, visit the Consentium IoT Documentation